Engineering 2018
Day 8

This session is in the classroom where I only allow two pairs of students to work on their machine, while I ask the other students to figure out what speed they are going to use when coding their machine for the above challenges. Many students start using proportional reasoning, and my only comments to them is to ask some math language to support their claims.
Several students write, "since 14 = 7 • 2, I will use a speed of 40 • 2 = 80." In a conversation with a couple of students, I suggest that they use units for distance (feet) and time (seconds). Then I realize that we can't use feet/second for the speed, since we have to use an arbitrary number from 0 to 100 when coding with the blocks!
One student starts by calculating a kind of unit rate. He writes, "40÷7 = 5.71." It seems to me that it represents the amount of speed needed to cover a feet in 10 seconds. So if you need to cover f feet, you would need a speed of 5.57•f ? Yet when we divide speed by distance, the unit is the inverse of time... To be continued!
Day 7
 |
 |
 |
Back in the gym to repair some of the machines and test our coding. Two pairs of students succeed in making their machine cover 7 feet in 10 seconds and then stop.
Students select the appropriate speed by trial and error. The instruction block that controls the motor ports accept a number from 0 to 100. Some students notice that if they use a number under 20, the motor doesn't spin. This might complicate my goal of promoting linear relationship thinking... I might have to experiment with a higher-voltage power source.
Day 6
This session is in the classroom, where we don't have enough space for all students to work on and test our machines. Four students do catch up with building their frames, while the rest of the group works on coding. We open-up with examples of instructions blocks that we comment on and debug.
 |
 |
We use the rest of the session to draft sets of instruction blocks that would make the machines go 7 feet in ten seconds then stop.
Day 5
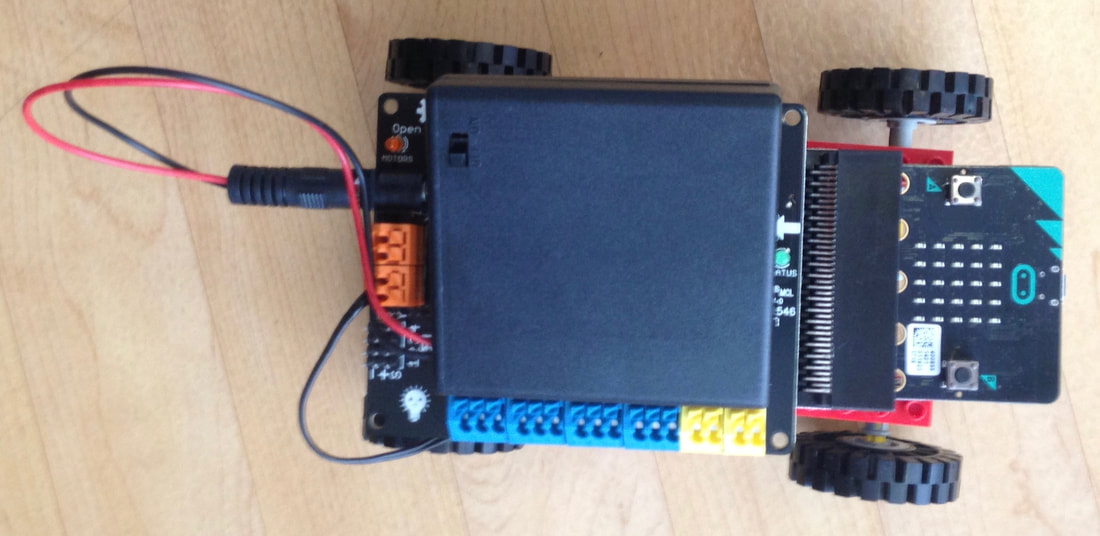
As we connected the motor of our frames to the Hummingbird controllers, some last minutes technical problems appeared. A motor appeared deficient, some more beams were needed to make sure the Hummingbird controllers didn't touch the tires.

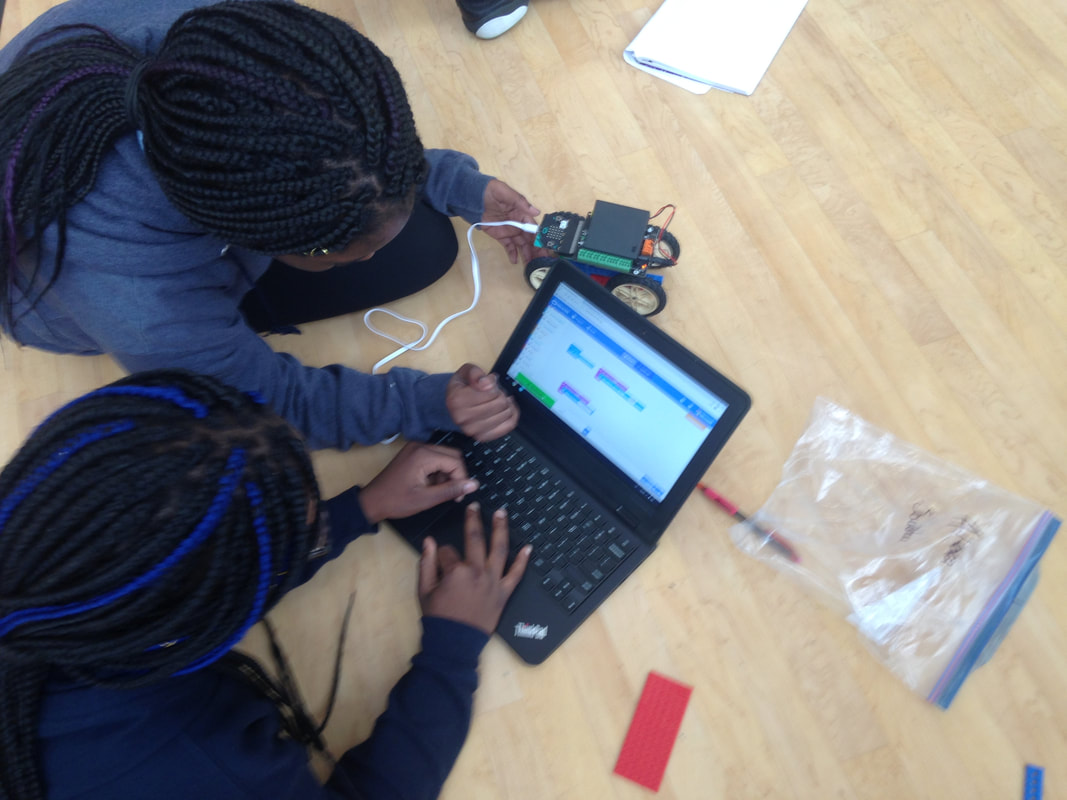
Then the goal was to make the machines move. The teacher helped each pair of students master the process of creating instructions text files using the webpage makecode.microbit.org, and then downloading the files onto the micro:bits. How do we do make the machines move now? What commands should we use? After being shown some starting points (use start Hummingbird in the start handle, and you might want to use the on press A handle), students were left to explore on their own. They were some difficulties with the chrome books going to sleep and the absence of wireless internet to get back to the programming page, but we eventually found a guest internet connection.
We did see some cars move! We made some observations but were left with some questions:
- You can control the speed of the car with a number.
- Why didn't the car stop?
- How come the cars move without being connected to the computer?
- You can control the speed of the car with a number.
- Why didn't the car stop?
- How come the cars move without being connected to the computer?
Day 3 & 4
While some students finished building their basic frames, others learned how to enter the block-programming environment for the micro:bit.
Day 2
We are finishing our frames. First problems, first questions, first discoveries, and some vocabulary.
As several pairs of students started testing their frame, connecting their motor to the battery pack, they noticed that the motor was rotating, but the frame was staying in the same place. Was was going on?


As students tinker with the gears and their connections, they discover that gears need to mesh. We also learn how to name parts by their names, 8-tooth gear, crown gear, axle, beam, bushing, etc.
Some frames were moving forward and backward. Mr. Cretinon invited a couple of students to experiment with changing the size of the gear connecting to the crown gear. Result? The frame moves faster. Why? Let's figure out the relationship between the driver gear and the follower gear. What is a driver gear?


Day 1
We are first going to focus on programming machines using a Scratch-like interface. For this we are all building the same basic frames. It is the opportunity to get familiar with the Lego building parts. Students chose to either look at the model or follow printed instructions.
We first sketch the frame in our notebooks and wrote a few lines to describe how we feel about building the machine. Everyone is very confident. Each pair is assigned one of the two "stores." Only one partner can go shopping for parts at a time. After a few minutes, it is obvious that the instructions are not so easy to use. Are the stud beams connected or just next to each other? How do I know if my stud beam is the right size? Does the color matter?


